Common Natural Stone Installation Mistakes: The 2026 Definitive
Natural stone is often marketed as the ultimate “forever” material, a geological asset that has already survived millions of years under tectonic pressure. Yet, the moment it is harvested from the quarry and introduced into a modern building assembly, it becomes part of a volatile chemical and mechanical ecosystem. The perceived permanence of granite, marble, or slate is frequently undermined not by the stone itself, but by the myriad ways it is bonded to a substrate. Common Natural Stone Installation Mistakes. When we discuss the durability of a stone installation, we are rarely talking about the mineral’s resistance to time; we are talking about the integrity of the mortar, the movement of the subfloor, and the management of moisture.
The architectural industry is currently grappling with a loss of “Craft-Memory.” As construction schedules accelerate and labor pools become increasingly specialized or fragmented, the nuanced understanding of lithic behavior is often replaced by a reliance on “multi-purpose” adhesives. Natural stone is not a homogenous product; a high-porosity limestone behaves entirely differently under thermal load than a dense, low-absorption basalt. Treating them with a singular installation logic is a fundamental error that leads to systemic failure.
To address these challenges, one must view a stone installation as a living system rather than a static finish. This requires an editorial shift from focusing on the surface aesthetic to the forensic details of the “Interfacial Zone”—the thin, critical space where the stone meets the adhesive. The following investigation serves as a definitive reference for identifying and mitigating the hidden variables that compromise stone longevity, ensuring that these geological assets remain structural and visual pillars for the duration of the building’s lifecycle.
Understanding “common natural stone installation mistakes”
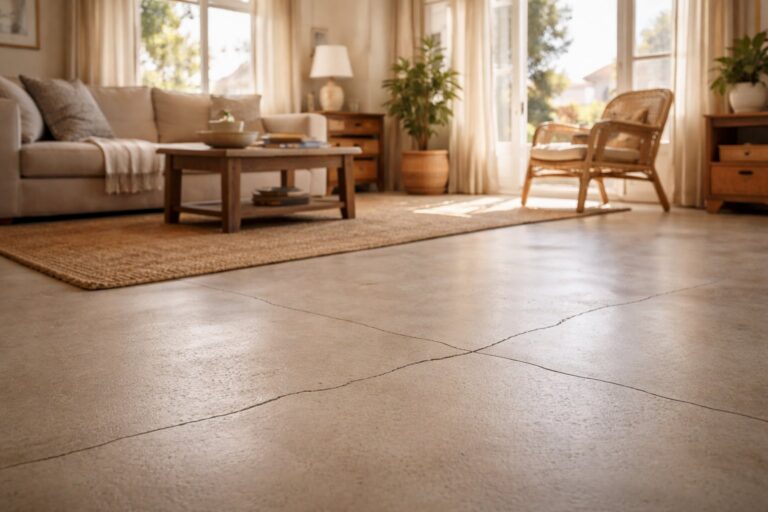
The investigation into common natural stone installation mistakes reveals a recurring theme: the “Substrate Fallacy.” Many installers treat a concrete slab or a plywood subfloor as a neutral, inert surface. In reality, concrete shrinks as it cures, and wood expands and contracts with humidity. If the stone is bonded directly to these moving surfaces without a “stress-relieving” mechanism, the stone will inevitably crack—not because it is weak, but because it is too rigid to follow the movement of the building. This “Reflective Cracking” is perhaps the most pervasive and expensive error in modern masonry.
Another significant perspective involves the “Chemical Incompatibility” of mortars. A common oversimplification is that “Thin-set is thin-set.” However, many light-colored stones, particularly Carrara marble or Thassos, are susceptible to “staining from the back.” If a grey Portland cement-based mortar is used, the moisture in the mortar can pull grey minerals into the white stone, creating permanent shadows. Furthermore, certain green marbles or “serpentines” are chemically unstable when exposed to water-based mortars; they can warp or curl—a phenomenon known as “transverse deformation”—if not installed with specialized epoxy adhesives.
Oversimplification risks are also present in the “Coverage Mandate.” Industry standards typically require 95% mortar coverage for natural stone in wet areas or exteriors. However, achieving this is physically difficult without the “Back-Buttering” technique. Many failures are traced back to “Spot-Bonding,” where five dabs of mortar are placed on the corners and center of a tile. This creates hollow voids under the stone that act as reservoirs for moisture and focal points for impact breakage. Understanding common natural stone installation mistakes requires a shift from viewing mortar as a “glue” to viewing it as a “continuous support bed.”
Deep Contextual Background: From Wet-Set to Thin-Bed
Historically, natural stone was installed using the “Thick-Bed” or “Wet-Set” method. Stone slabs were set into a 1-to-3-inch bed of sand-and-cement mortar while the bed was still plastic. This allowed the installer to compensate for the varying thicknesses of hand-cut stone and provided a massive, stable base that absorbed structural movement. This was the “High-Mass” era of masonry, which produced the enduring stone floors of European cathedrals and government buildings.
The mid-20th century saw the rise of “Thin-Bed” technology, driven by the need for speed and the standardization of tile thickness. While thin-set mortars are chemically superior in bond strength, they lack the “Structural Forgiveness” of a thick bed. In a thin-bed system, there is no room for error; the substrate must be perfectly flat (typically within 1/8 inch over 10 feet). As we moved toward larger and thinner stone panels (300cm x 150cm “Mega-Slabs”), the tension within the installation increased. Modern mistakes are often the result of using “Thin-Bed” logic on “Large-Format” materials without adjusting for the increased leverage and thermal expansion inherent in bigger pieces of stone.
Conceptual Frameworks and Mental Models
To analyze stone failure, experts utilize several mental models:
-
The “Coefficient of Thermal Expansion” (CTE) Gap: Stone and concrete expand at different rates when heated by the sun or radiant flooring. If there are no “Movement Joints” every 15–20 feet, the stone will “tent” or buckle as it runs out of room to grow.
-
The Capillary Bridge: View the mortar as a series of straws. If the mortar is porous, it will pull moisture from the ground up into the stone. Breaking this bridge requires either a “Crystallizing Primer” or a “Disconnection Membrane.”
-
The “Hollow-Sound” Diagnostic: A mental model for support integrity. If a floor sounds like a drum when tapped, it indicates “De-bonding.” This is a leading indicator that the bond was lost during the “Curing Phase,” often due to the substrate being too dry and “sucking” the water out of the mortar before it could chemically hydrate.
Key Categories: Taxonomy of Installation Failures
Analyzing the trade-offs between speed, cost, and durability requires a breakdown of the specific “Failure Points” found in the field.
| Category | Primary Symptom | Chemical/Mechanical Root | Risk Level | Mitigation Strategy |
| Efflorescence | White powdery crust | Water-soluble salts in mortar | Medium | Use low-alkali cement |
| Picture Framing | Darkened edges | Sealant/Grout migration | High (Aesthetic) | Pre-seal edges of stone |
| Tenting | Stone popping upward | Lack of expansion joints | Critical | Install soft silicone joints |
| Lippage | Uneven tile edges | Poor substrate leveling | Low (Safety) | Use leveling clips |
| Warpage | Stone “curling” | Moisture-sensitive minerals | High (Structural) | Use epoxy or rapid-set |
| Spalling | Surface flaking | Freeze-thaw in trapped water | Critical | Ensure 95% coverage |
Decision Logic: The “Pore” Filter
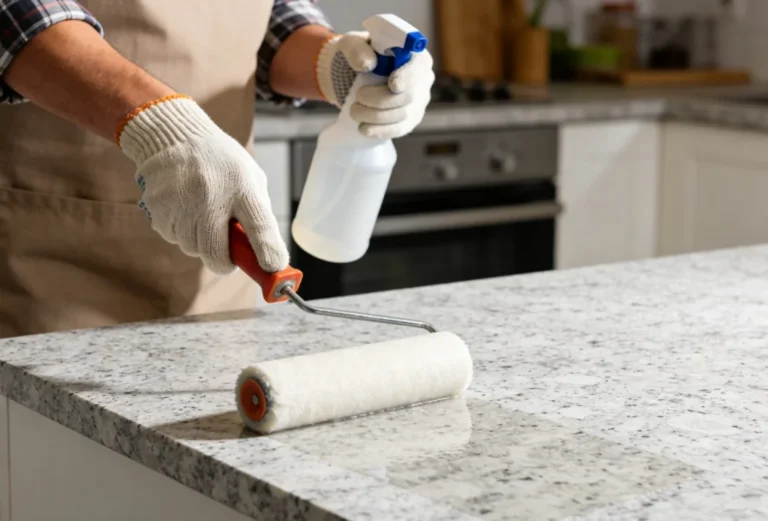
If a stone has a “High Absorption Rate” (like certain Sandstones or Travertines), it must be back-sealed with a vapor-permeable “Consolidator” before installation. If the stone is “Non-Porous” (like dense Granite), the mortar must be “High-Polymer Modified” to ensure a mechanical “bite” into the smooth surface.
Detailed Real-World Scenarios Common Natural Stone Installation Mistakes
Scenario 1: The “Radiant Heat” Explosion
A luxury residence features a beautiful French Limestone floor over a hydronic radiant heating system.
-
The Failure: The installer used a standard rigid grout and failed to include “Perimeter Expansion Joints.”
-
The Result: The first time the heat was turned on, the limestone expanded. Having no “soft space” to move into, the floor “Exploded” upward in the center of the room.
-
The Lesson: In stone, “Expansion Joints” are not optional; they are the “Pressure Release Valve” of the building.
Scenario 2: The “Shadowing” Marble
A high-end bathroom uses white Carrara marble tiles.
-
The Diagnostic: Two months after installation, grey spots appear in the center of every tile.
-
The Root Cause: The installer used “Spot-Bonding.” The mortar dabs trapped moisture behind the stone. Because the marble is translucent, the “wet” spots show through as grey shadows.
-
The Fix: There is no fix; the stone must be removed and re-installed with full-coverage white mortar.
Planning, Cost, and Resource Dynamics
The “Economics of Error” in stone installation are heavily skewed toward the cost of replacement.
| Component | % of Original Cost | % of Remediation Cost | Optimization Strategy |
| Stone Material | 45% | 100% (Loss) | Buy 15% overage |
| Adhesives/Mortar | 10% | 15% | Never buy “entry-level” thin-set |
| Labor (Install) | 40% | 200% (Demolition + Re-install) | Hire TCNA-certified labor |
| Waterproofing/Membranes | 5% | 0% (If skipped) | Mandatory in all wet areas |
Cost Analysis: Investing an extra $3.00 per square foot in a “Crack Isolation Membrane” and “Premium Mortar” is the single best insurance policy a project can have. For a 1,000 sq ft project, a $3,000 “Prevention” spend avoids a $40,000 “Failure” event.
Tools, Strategies, and Support Systems
-
Notched Trowels (Appropriately Sized): For Large Format Stone, a 1/2″ x 1/2″ square notch is the minimum. The trowel ridges must be “Collapsed” during installation to ensure coverage.
-
Suction Cup Levelers: Essential for handling large slabs to prevent “Edge Breaking” and to ensure even pressure during the set.
-
Uncoupling Membranes: Plastic mats that allow the substrate and the stone to move independently.
-
pH-Neutral Substrate Cleaners: Ensuring no drywall dust or oils are on the slab, which would prevent the mortar from bonding (the “Dust-Bond” failure).
-
Moisture Meters: Testing the concrete slab’s “Moisture Vapor Emission Rate” (MVER) before setting stone.
-
Edge-Sealing Tape: Preventing “Grout Bleed” into the porous edges of the stone during the grouting phase.
-
Diamond Pads: For “Honing” out minor lippage after the floor has cured.
Risk Landscape and Failure Modes
-
Latex Leaching: In exterior installations, if a latex-modified mortar is used without proper drainage, the latex can “re-emulsify” in standing water, creating a white, sticky liquid that oozes from the joints.
-
Oxidation: Some slates and granites contain “Iron Pyrite.” If installed in a wet environment with a high-moisture mortar, the iron can “rust,” creating orange streaks that move from the inside out.
-
Substrate Deflection: In wood-framed buildings, if the floor “bounces” too much (L/720 for stone), the grout will crack and the stone will eventually de-bond.
Governance, Maintenance, and Long-Term Adaptation
A successful stone installation requires “Post-Game Governance”:
-
The “Cure-Watch” Period: Stone should not be walked on for at least 72 hours. Early foot traffic disrupts the “Micro-Crystals” forming in the mortar, leading to a weak bond.
-
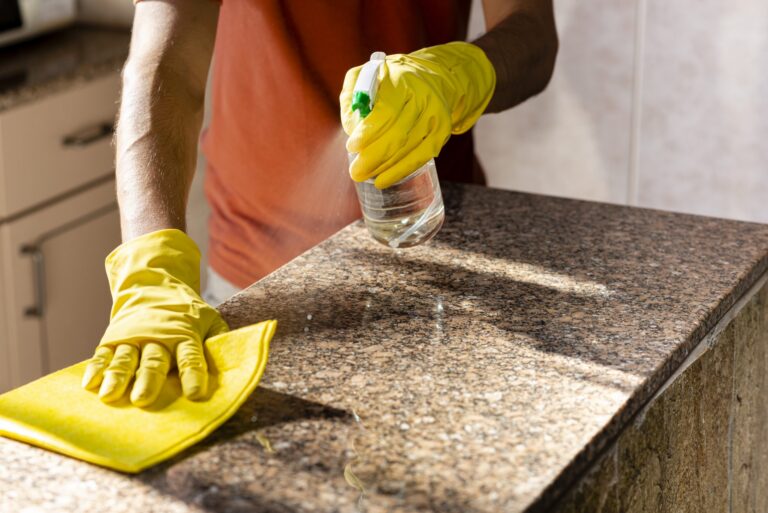
The Grout-Seal Cycle: Grout is the most vulnerable part of the system. It should be sealed annually to prevent moisture from traveling under the stone.
-
The “Soft-Joint” Replacement: Silicone joints in corners and expansion gaps degrade faster than the stone. They must be removed and replaced every 5–7 years to maintain the system’s “Flexibility.”
Measurement, Tracking, and Evaluation
-
Leading Indicator: “Trowel Ridge Collapse.” Lifting a tile immediately after setting it to check for 95% coverage.
-
Lagging Indicator: “Cracked Grout.” Often the first sign that the substrate is moving or that the bond is failing.
-
Documentation Example: “The Pull-Test Log”—recording the results of an ASTM C1583 pull-test on the substrate before installation begins to ensure the concrete surface is strong enough to hold the stone.
Common Misconceptions and Industry Myths
-
“Natural stone is stronger than ceramic tile.” False. Most stones have lower “Flexural Strength” than porcelain and require a much stiffer substrate.
-
“Sealing stone makes it waterproof.” False. It only provides “Dwell Time.” Water will still eventually penetrate if the installation has poor drainage.
-
“Green marble can be set with regular thin-set.” False. It will warp. It requires epoxy or water-free adhesive.
-
“Thicker stone doesn’t need as much mortar.” False. Thicker stone is heavier and places more stress on the bond.
-
“Concrete is ‘dry’ after 28 days.” False. Thick slabs can take 6 months to reach the moisture levels required for stone installation.
-
“Expansion joints are ugly and unnecessary.” False. A “tented” floor is significantly uglier.
Ethical and Practical Considerations
In 2026, the “Waste Ethics” of masonry are a primary editorial concern. A failed stone floor that is ripped out and sent to a landfill represents a massive waste of “Embedded Carbon”—the energy used to quarry and ship that stone across the world. Ensuring a “First-Time-Right” installation is the most significant “Sustainability” contribution a contractor can make. Practically, this means resisting the “Value-Engineering” pressure to skip membranes or use cheaper, non-specialized mortars.
Conclusion: The Architecture of Integrity
The prevention of common natural stone installation mistakes is not a matter of aesthetic taste, but of engineering discipline. It is a recognition that stone is a biological participant in the building’s life, reacting to heat, moisture, and movement. By moving beyond the “Surface-Level” focus and mastering the chemistry of the bond and the physics of the substrate, the industry can fulfill the promise of natural stone: a material that does not merely survive the passage of time, but ages with the dignity of the earth it came from. The goal of the senior editor and the master mason are aligned: to create a narrative of permanence that remains unbroken.