How to Avoid Moisture Trapped Behind Stone: The 2026 Building
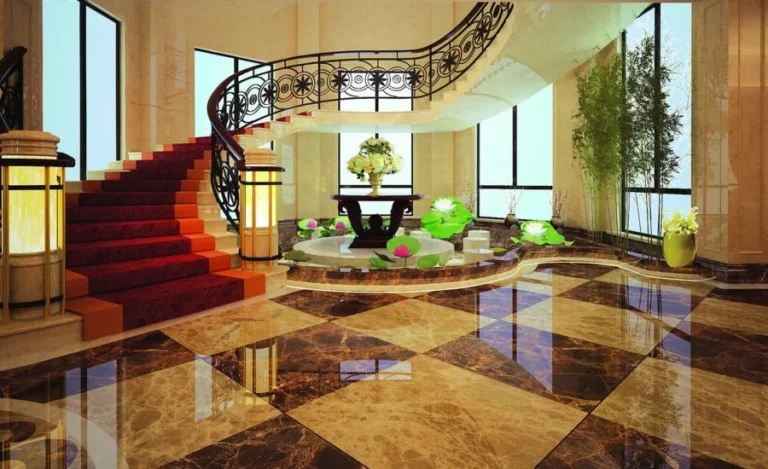
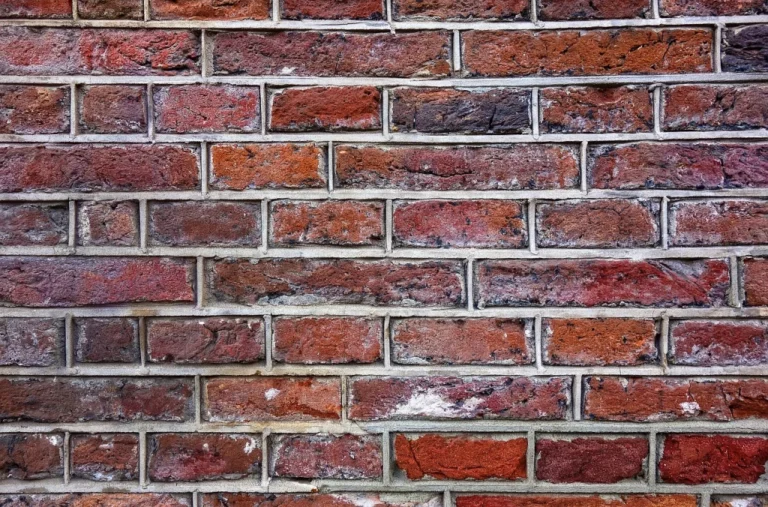
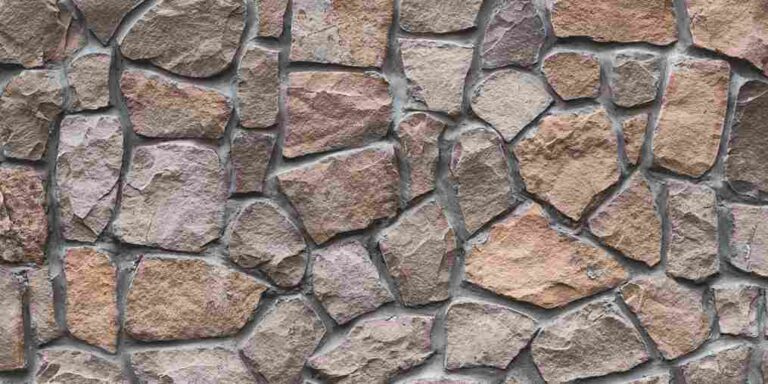
The installation of natural or manufactured stone veneer is often regarded through a purely aesthetic lens, yet its long-term viability is governed by the invisible movement of water. Stone, while perceived as an impermeable barrier, is part of a complex “reservoir cladding” system. It absorbs moisture from the exterior—driven by wind, capillary action, and vapor pressure—and can store significant quantities of liquid within its matrix and the mortar bed. How to Avoid Moisture Trapped Behind Stone. When this moisture lacks a clear path for drainage or evaporation, it becomes “trapped,” initiating a cycle of structural degradation, biological growth, and aesthetic failure that is often catastrophic by the time it becomes visible on the surface.
To address the physics of trapped moisture, one must move beyond the “sealed box” mentality of construction. The historic reliance on thick, load-bearing masonry allowed for a massive “hygric buffer”—walls so thick they could absorb seasonal rains and dry out before moisture reached the interior. Modern thin-veneer construction, however, lacks this mass. It relies on a thin assembly of weather-resistive barriers (WRB), lath, and mortar. In these systems, the management of the “interstitial space”—the tiny gap between the back of the stone and the drainage plane—is the difference between a century-old facade and a five-year litigation case.
Preventing hydrostatic pressure from building behind a stone finish requires an editorial-level scrutiny of the “Drainage Plane.” Without these two mechanisms working in tandem, moisture becomes a permanent resident within the wall cavity, leading to the rot of wooden sheathing, the corrosion of metal lath, and the eventual delamination of the stone itself. This analysis serves as a definitive pillar for architects, contractors, and owners seeking to master the hydrodynamics of stone assemblies.
Understanding “how to avoid moisture trapped behind stone”
A multi-perspective analysis of how to avoid moisture trapped behind stone reveals that the most common failure point is the “Bonded Interface.” In traditional scratch-and-brown installations, the mortar is applied directly to a WRB-covered substrate. This creates a “tight” assembly where any water that bypasses the stone has nowhere to go. Because mortar is highly capillary (meaning it sucks in water), it holds that moisture against the wall.
Oversimplification in this sector often centers on the “Sealer Fallacy.” Many homeowners believe that applying a high-performance sealer to the face of the stone will prevent moisture issues. In reality, sealing the front of a stone that is already wet from the back can be disastrous. If water enters the wall through a roof leak, a window flashing, or through vapor drive from the interior, a surface sealer creates a “Vapor Bridge” that traps the water inside. The stone cannot “breathe,” and the resulting internal pressure can cause the face of the stone to “spall” or pop off as the trapped water freezes or expands.
The critical misunderstanding lies in the “Source vs. Path” distinction. Most efforts are focused on stopping the source of water (sealing joints, caulking windows), but the most resilient assemblies focus on the path. Since it is statistically impossible to keep a stone facade 100% waterproof over a 30-year lifecycle, the “Best Practice” is to assume the stone will leak and to provide a “Free-Path” for that water to exit. This is achieved through the use of “Weep Holes” at the base of the wall and a continuous drainage cavity that prevents the mortar from touching the weather-resistive barrier.
Deep Contextual Background: The Evolution of the Drainage Plane
The transition from “Mass Masonry” to “Thin Veneer” represents a fundamental shift in building science. In the early 20th century, stone buildings were constructed with “Multi-Wythe” walls. If the outer layer of stone got wet, the inner layers of brick and mortar acted as a sponge, holding the water until the sun came out and pulled it back out via evaporation. There was no “back of the stone” in the modern sense; it was a continuous mineral mass.
The post-WWII housing boom introduced “Stick-Frame” construction, where stone became a decorative skin over a wooden skeleton. Initially, two layers of “Grade D” building paper were used to protect the wood. The theory was that the first layer would get wet and wrinkle, creating a tiny, natural drainage gap between it and the second layer. However, as modern homes became more “Air-Tight” and insulation levels increased, the temperature of the wall cavity dropped. This meant that once a wall got wet, it stayed wet much longer because there was less heat escaping from the house to dry it out. This led to the development of dedicated “Rain Screen” technologies—entangled mesh mats and rain-screen clips—that move the stone away from the wall by 1/8 to 3/8 of an inch, creating a permanent, engineered void for water management.
Conceptual Frameworks and Mental Models
To manage moisture effectively, practitioners use several mental models:
-
The Perforated Bucket Model: View the stone facade as a bucket that is guaranteed to have holes. Instead of trying to plug every hole perfectly, you ensure the bucket has a “False Bottom” (the drainage mat) with large “Drainage Ports” (the weep holes) at the bottom.
-
The Vapor Drive Gradient: Water always moves from “Warm to Cold” and “More to Less.” In summer, sun-heated stone pushes moisture into the house (Inward Vapor Drive). The assembly must have a “Vapor Throttle” to prevent this humidity from condensing on the cold, air-conditioned interior sheathing.
-
The Capillary Break: A framework for material separation. Just as a sponge won’t transfer water to a piece of glass unless they are touching, mortar won’t transfer water to a WRB if there is a 1mm air gap between them.
Key Categories: Drainage Assemblies and Barriers
When evaluating how to avoid moisture trapped behind stone, the selection of the “Intervening Layer” is the most critical decision.
| Category | Mechanism | Moisture Capacity | Risk Profile | Best Use Case |
| Direct-Bonded | Mortar to WRB | High (Traps water) | Very High | Dry climates only |
| Drainage Mat | Entangled plastic mesh | Low (Drains well) | Low | Standard residential veneer |
| Rain Screen Gap | Rigid furring strips | Zero | Very Low | Commercial, high-rise |
| Liquid-Applied WRB | Permeable membrane | Moderate | Medium | Complex geometries |
| Dual-Layer Paper | Sacrificial layer | High | High | Budget-conscious, low rain |
| Ventilated Cavity | 1″ air space | Zero | Lowest | Premium luxury, wet climates |
Decision Logic: The “Climate-Zone” Filter
In the Pacific Northwest or the Southeast United States, a “Direct-Bonded” system is a systemic failure waiting to happen. In these zones, a “Ventilated Cavity” or a high-performance “Drainage Mat” is mandatory. The logic is simple: the more “Annual Rainfall” a region receives, the larger the required “Air Gap” behind the stone must be to facilitate drying.
Detailed Real-World Scenarios How to Avoid Moisture Trapped Behind Stone
Scenario 1: The “New-Build” Mold Crisis
A luxury home in a humid climate features a stone-clad entry.
-
The Failure: The installer used a single layer of housewrap and applied the stone with high-polymer mortar.
-
The Result: Within two years, the interior drywall behind the stone feels soft. Upon removal, the OSB sheathing is completely rotted, and black mold has colonized the wall cavity.
-
The Fix: Full “Tear-Off,” installation of a liquid-applied WRB, followed by a 10mm drainage mat and stainless-steel weep screeds.
Scenario 2: The “Efflorescence” Warning
A stone chimney begins to show heavy white, powdery staining (efflorescence).
-
The Diagnostic: Water is entering the chimney through a cracked “Crown” (the top cap) and is getting trapped behind the stone. As it evaporates through the stone, it brings salts with it.
-
The Lesson: Trapped moisture doesn’t always cause rot first; it often destroys the “Aesthetic Value” of the stone through salt mineralized staining.
Planning, Cost, and Resource Dynamics
Preventing moisture is significantly cheaper than remediating rot.
| Cost Component | % of Total Installation | Direct Drivers |
| High-Perm WRB | 5% | Material quality (Vapor permeability) |
| Drainage Mat / Mesh | 10% | Thickness and compressive strength |
| Weep Screeds / Flashing | 5% | Linear footage of the base of walls |
| Labor (Detailing) | 15% | Complexity of window/door pans |
The Range-Based Analysis: Incorporating a proper drainage system adds approximately $2.00 to $5.00 per square foot to the installation cost. However, the “Remediation Cost” for trapped moisture typically ranges from $50.00 to $150.00 per square foot, as it involves the total destruction and replacement of the exterior envelope and potentially the structural framing.
Tools, Strategies, and Support Systems
-
Stainless Steel Weep Screeds: Placed at the base of the wall to provide a “Gravity Exit” for water while preventing insects from entering.
-
Entangled Mesh Mats: A 3D matrix that creates a “Shadow Gap” behind the stone, ensuring that mortar cannot bridge the cavity.
-
Venting Strips: Placed at the top of the wall to allow for “Convective Airflow,” which pulls moist air out through the top as it warms up.
-
Self-Adhered Flashing Tapes: For “Lapping” window and door openings to ensure water is directed onto the drainage plane, not behind it.
-
Blower Door Testing: While primarily for air leakage, it can identify “Negative Pressure” zones that may suck moisture into the wall cavity during storms.
-
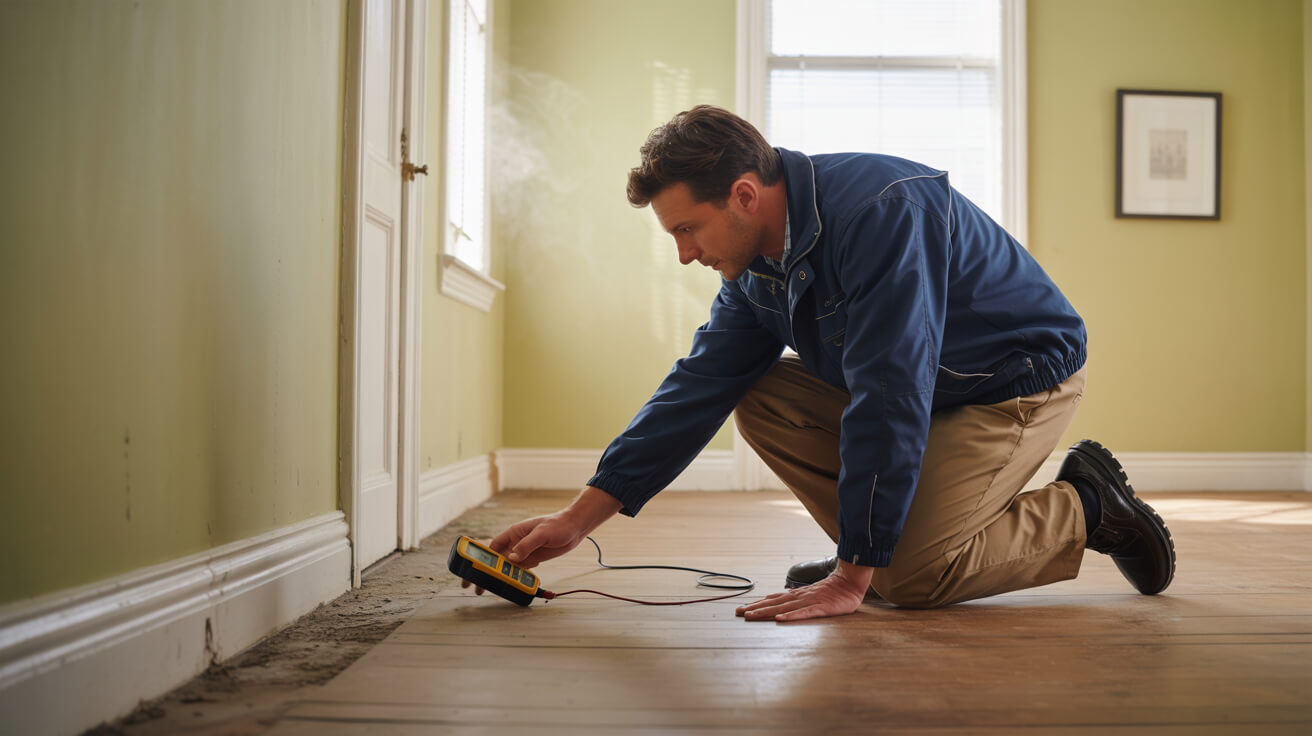
Infrared Thermography: A non-destructive way to see “Wet Spots” behind the stone after a rain event, identifying where water is being trapped before rot begins.
-
Kick-out Flashings: A simple metal diverter that prevents roof runoff from dumping directly into the “Stone-to-Wall” joint.
Risk Landscape: A Taxonomy of Hygric Failure
-
Capillary Sucking: When mortar touches the WRB, it “wicks” water through the barrier and into the wood.
-
Hydrostatic Pressure: When water is trapped in a tight space, the weight of the water above pushes it into every microscopic crack in the membrane.
-
Vapor Sandwich: When a wall has an “Impermeable” layer on both sides (e.g., stone sealer on the outside and vinyl wallpaper on the inside), trapping moisture in the middle.
-
Thermal Bridging: When wet stone and mortar act as a “Heat Sink,” causing the interior wall to stay cold, which leads to “Interior Condensation” and mold.
Governance, Maintenance, and Long-Term Adaptation
The “Stewardship” of a stone assembly requires a “Review Cycle”:
-
The Annual “Weep-Audit”: Checking the base of the wall to ensure that mulch, soil, or grass hasn’t covered the weep holes. A blocked weep hole turns a drainage system into a reservoir.
-
The Cap/Crown Inspection: The top of the stone wall (the coping or chimney cap) is the “Primary Defense.” If the cap cracks, water enters the system from the top, where it is most likely to get trapped behind the longest vertical runs of stone.
-
The Sealant Joint Review: Inspecting the “Soft Joints” around windows and doors every 3–5 years to ensure the caulk hasn’t pulled away.
Measurement, Tracking, and Evaluation
-
Leading Indicator: “Drying Time.” After a heavy rain, a properly drained stone wall should show no “Dark Damp Patches” within 24–48 hours of sun exposure.
-
Lagging Indicator: “Interior Humidity Spikes.” If the room behind a stone wall consistently has higher humidity than the rest of the house, moisture is likely trapped in the assembly.
-
Documentation: “As-Built Photos” of the drainage mat and flashing before the stone is applied. This is the only way to prove the assembly was built to “Avoid Moisture” for insurance or resale purposes.
Common Misconceptions and Industry Myths
-
“Stone is naturally waterproof.” False. Most stones are porous, and mortar is effectively a hard sponge.
-
“More mortar means a better seal.” False. More mortar just means a larger “Reservoir” to hold trapped water.
-
“Sealing the stone will fix a leak.” False. It usually traps the leak inside, accelerating the damage.
-
“Housewrap is enough.” False. Housewrap protects against liquid water, but it doesn’t provide the “Air Gap” needed for drainage and drying.
-
“Weep holes are just for brick.” False. Every stone veneer system needs a way for water to exit at the bottom.
-
“You don’t need drainage in the desert.” False. Even infrequent rain can rot a wall if it cannot dry out.
Ethical and Practical Considerations
In the 2026 construction landscape, “Building Resilience” is an ethical mandate. Building a stone facade that rots in ten years is a massive waste of carbon and natural resources. Architects have a “Practical Duty” to specify “Drainage-First” assemblies. Furthermore, as “Extreme Weather Events” become more frequent, the “Hygric Loading” on buildings is increasing. A wall that was “Safe” in 1990 may no longer be safe under 2026 rainfall intensities. Designing for “Maximum Drainage” is the only way to future-proof the investment.
Conclusion: The Wisdom of the Gap
To understand how to avoid moisture trapped behind stone is to embrace the paradox that the best way to protect a wall is to allow it to be “Open.” By creating a deliberate “Gap” between the aesthetic skin of the stone and the structural integrity of the wall, we respect the laws of thermodynamics and gravity. A stone wall should not be a “Shield” that tries to be perfect; it should be a “Sieve” that allows for the inevitable entry and exit of water. The longevity of our most beautiful architectural assets depends on our willingness to manage what we cannot see—the silent, steady flow of moisture behind the stone.